Measurement of gears
Ask for a price
Ask for a price
Measurement of gears
Specification
-
Measuring range:
Internal gears:
from Mi=3,5 mm to 333 mm
External gears:
from Ma=10 mm to 140 mm - Measuring method: 2 contact points
- Ball material: Wolfram carbide
Downloads
Description
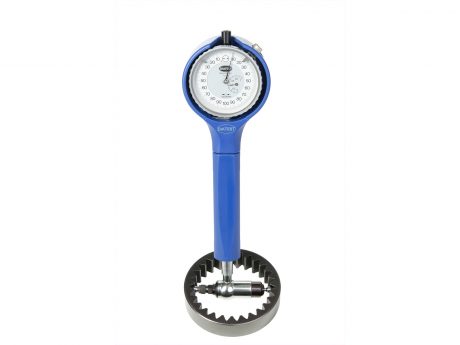
Measurement of gears
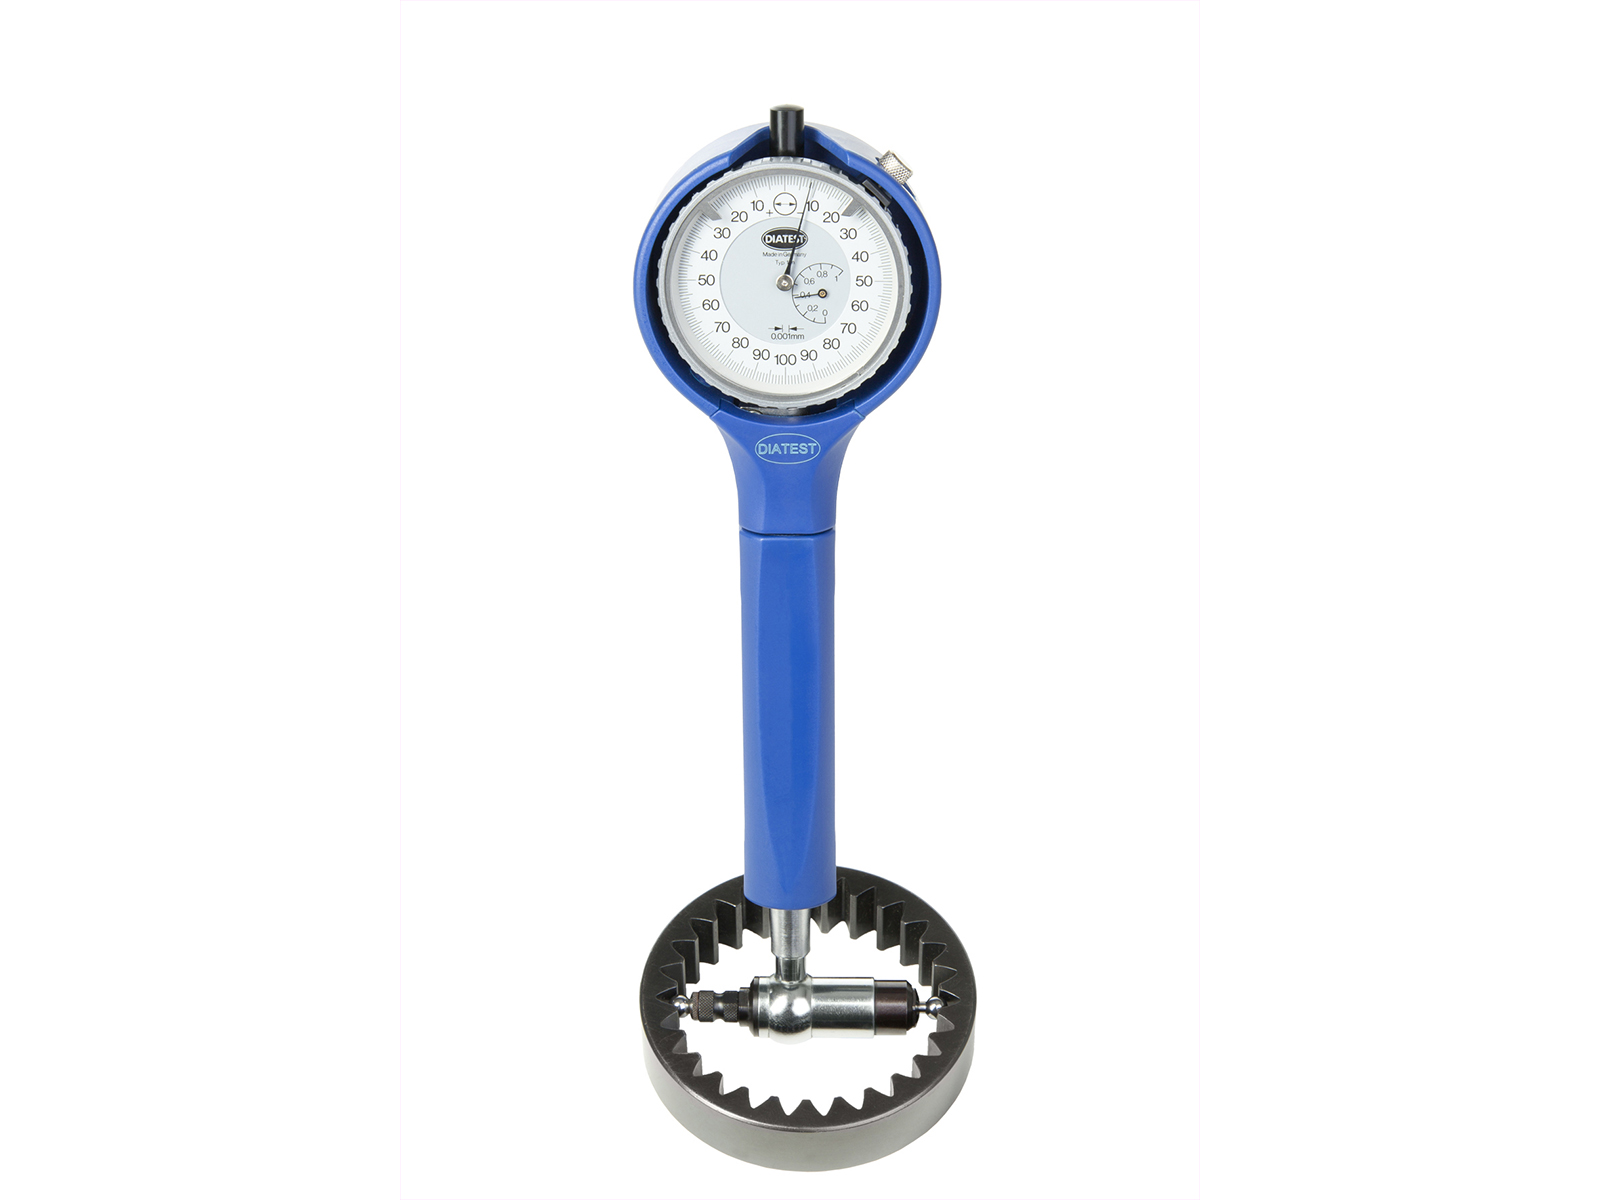
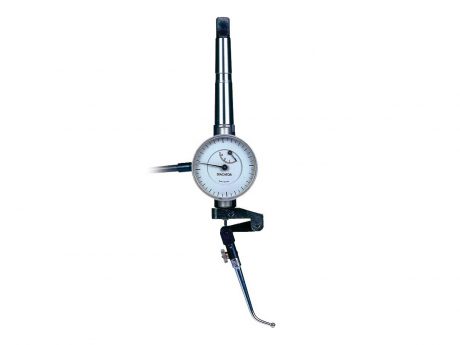
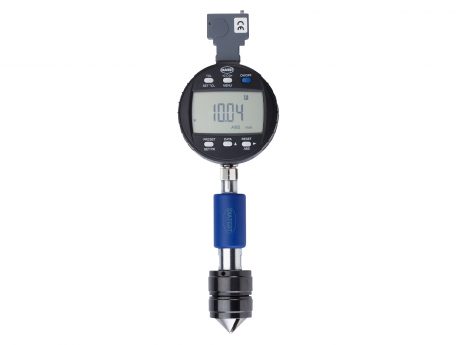
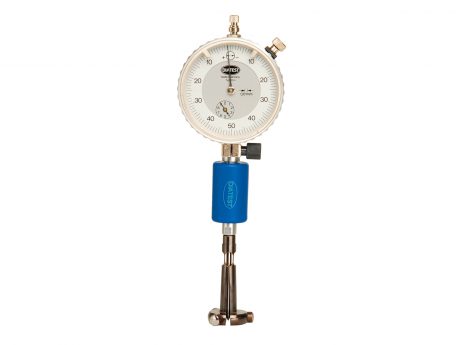
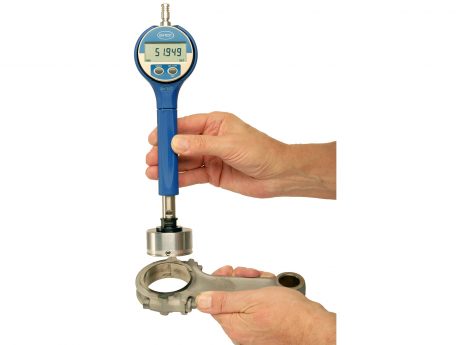
Flexible indicating 2-point measuring instrument for internal and external gear gauging. Measurement of internal and external gear gauges, taper and ovality. Applicable for internal and external gear gauges (straight-sided or helical) and for gears with even or odd numbered teeth.
Internal Gear Gauges:
- Range between balls Mi = 3.5 to 333 mm (0.1380″ to 13.1102″)
- Starting from Mi = 9.3 mm (0.3660″) (T-ZM3!) the ball anvils are screwed together and can be exchanged
- Measuring range from 0.6 to 3 mm (0.0236″ to 0.1181″), depending on model
- Identical in construction with split-ball and plunger probe system ( 129 et seq)
- Alternative: self-centering Plug Gauge BMD-IV (starting from cylinder-Ø 10 mm (0.3937″)) for serial measurement ( 215 et seq)
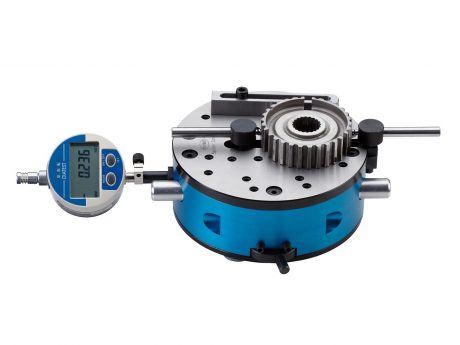
External Gear Gauges (EG):
- Range over balls Ma = 0 – 140 mm (0 – 5.5118″)
- Available in four measuring ranges: Ma = 0-30, 0-70, 30-70 and 70-140 mm (0-1.1811″, 0-2.7559″, 1.1811″-2.7559″, 2.7559‘‘-5.5118″)
- Ball anvils are interchangeable
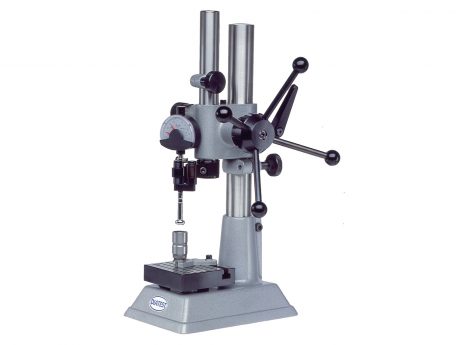
- Optional: Checking stand for fixed position
Balls are made of carbide. Many ball diameters are available on stock as well as roller anvils. For zero setting, please use measured sample components or setting masters. Mechanical and digital indicators can be used ( 246 et seq). Special designs on request.
